Behind the Scenes
- Sharon Prigan

- 12 minutes ago
- 2 min read
Creating a miniature quilt that captures the essence of ocean waves in a compact 25 x 35 cm format is a unique challenge. I was asked to make such a piece, and I wanted to make it a more interesting artistic piece. Using very thin strips of ocean-colored fabrics, I aimed to bring depth, movement, and interest to this tiny landscape. I also created two versions: one abstract and one a more literal ocean landscape. If you enjoy seeing the creative process, follow me on Patreon where I share my trials and successes in detail.
Choosing the Fabrics and Colors
The first step was to dig into my box of ocean-colored fabrics. I have a collection of blues, greens, teals, and some sandy beige tones that remind me of the shore. Since the quilt is very small, the fabric strips needed to be thin to keep the scale right. Using thin strips is tricky because the fabric can be fragile and harder to sew with very small seam allowances..
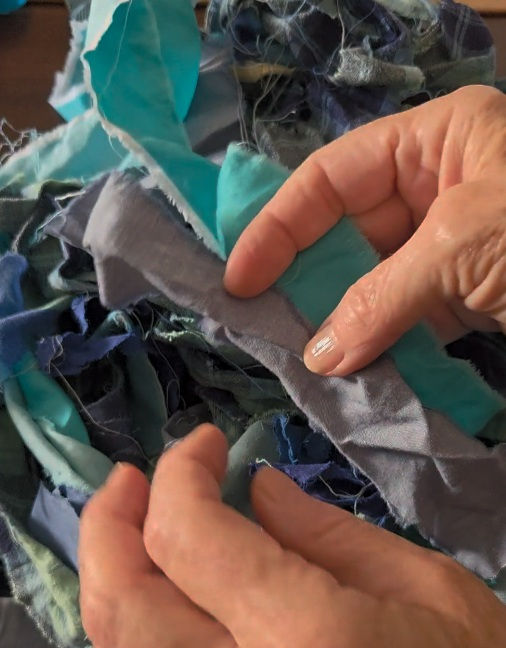
I looked for fabrics with subtle variations in tone and texture. Some have a slight sheen, others are matte. I avoided overly bright or neon blues because they felt too artificial for the ocean theme. Instead, I focused on muted, natural, grey toned shades that evoked a tranquil ocean.
Planning the Color Placement
With the fabrics selected, I laid out the strips to experiment with color placement. The goal was to create a sense of flow and depth. I arranged the strips that I chose in a random order.

For the abstract version, I played with color mixes,making sure that the colors flow and don't jar as ones eyes move across the piece suggesting movement without defining a clear scene.

For the ocean landscape piece, I arranged the strips to represent the horizon, waves, and shoreline more clearly. The paler strips at the bottom suggest the beach, while the darker blues and greens above represent the water and sky.

I always take photos of each layout for reference to compare and decide which arrangement feels most balanced. This step always helps organize my color layout before sewing the pieces.
Sewing Thin Strips Together
Sewing very thin strips requires patience and precision. The trick is a shorter stitch length to keep the seams secure without puckering the fabric and most important, to sew slowly. Pressing each seam carefully after sewing was essential to keep the quilt flat and neat.
Creating Two Versions
Making two versions of the quilt allowed me to explore different creative directions. The abstract piece is more about color and movement, inviting ones eyes to interpret the shapes and flow. The second piece is a more defined ocean landscape.
Both versions use the same fabric palette and techniques but are visually different.
Sharing the Journey Behind the Scenes
If you want to see more behind-the-scenes, including my deliberations, mistakes, and adjustments, I invite you to follow me on Patreon. There, I will be posting updates, photos, and videos showing the entire step-by-step process of creating these miniature quilts.


Comments