Her Designer Shirt
- Sharon Prigan

- Feb 23, 2021
- 2 min read
I have a student whom I think, in another life, would have been a runway fashion designer. Once a month she brings a new project. Every time something original and innovative and challenging.
Innovative and original because I have never seen her ideas anywhere else. Challenging for me, because she always has "interesting " combinations of fabric and angles of sewing.
This time she brought a grey woollen sweater and grey wool plaid fabric. 2 fabrics that I would normally never sew together. The wool sweater stretches out of shape and the plaid does not drape. But as I said, I like a challenge.
The first thing that she did was to remove the back of the sweater. Her idea was to make a wide, longer pleated panel with a curved hem, in the back and to lengthen the front with a plaid panel below the bottom rib of the sweater.
She measured, drew and cut 2 panels. Overlocked them around the edges, hemmed the bottoms and began attaching.
The shorter front panel was simple to hem as she chose to make a short hem.

For the second back panel she wanted a deeper hem and the edge was curved so she had to gather the hem so that after it was folded it would lay flat.

First the front panel was attached underneath the ribbing of the sweater.

This is what the front looked like with the plaid panel.

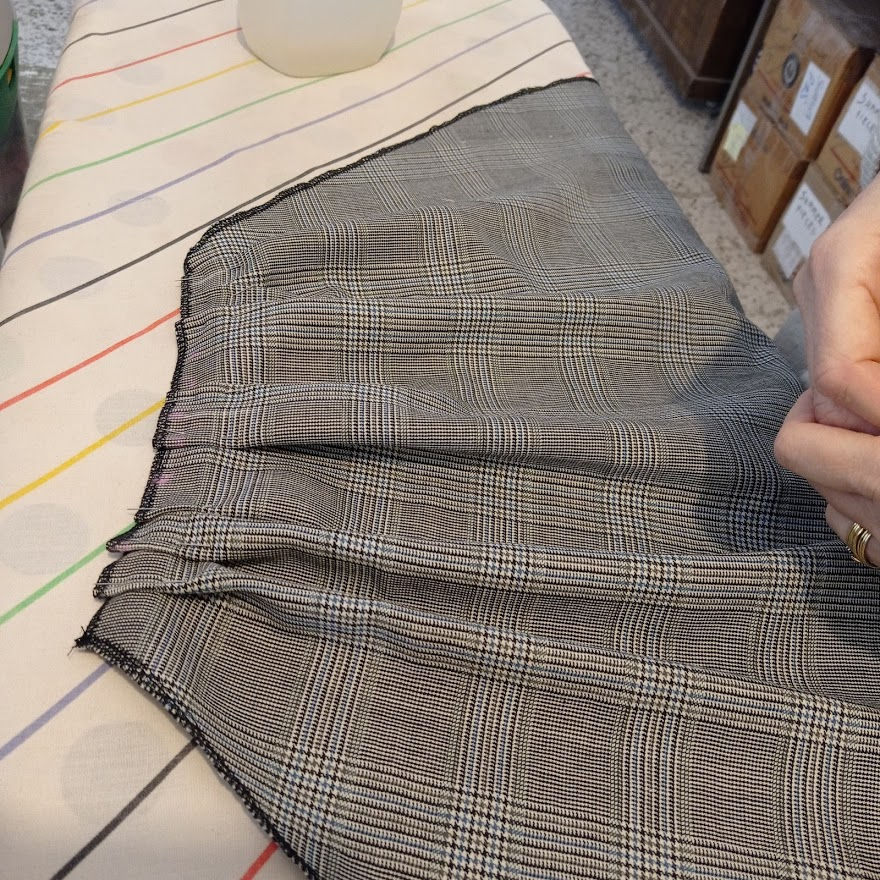
Contemplating how many pleats to make in the back panel. This was a major decision. She had originally thought of making one large center pleat, but after laying it down she didn't like the way it looked.

In the end she decided on 5 pleats. A larger box pleat in the center and 2 knife pleats folded outwards towards the side seams on both sides of the back panel.
The pleats were pinned, sitched and then ironed flat.

Running a top stitch close to the edge so that the pleats don't open when joining the panel to the sweater.

After joining the pleated area underneath the top back section of the sweater the sides had to be connected.
This was the most difficult part of this shirt. The sweater stretched when sewn. The way we decided to do it in the end was to place MANY pins to minimize the area that could stretch while being sewn down on the plaid fabric.
It worked.

The finished shirt from the front

And the back with the pleated panel.

She was very happy and proud of her Designer shirt.

The side view.

The back view.

I wonder what project she has planned for next month?


