That Tablecloth

There was enough of that tablecloth left over after creating this shirt - see the detailed tutorial here https://www.priganart.com/post/was-this-a-table-cloth
The process of making the shirt not only showcased her sewing skills but also highlighted her ability to repurpose materials in a sustainable, original way.

She decided that she wanted to sew a pair of shorts and create a pattern from a pair that she already had which were a good fit. A very original idea. I told her to bring that pair of shorts that she liked so that she could then use them to create a pattern for her new shorts.
Creating a Pair of Shorts from that Tablecloth
By carefully creating a pattern from the existing shorts and making adjustments where necessary, she was able to incorporate her personal style into the new garment. This process of pattern-making is a very original idea that combines creativity with practicality, demonstrating how one can breathe new life into old items and create something truly unique and personal and so she decided to create a pair of shorts like these.

with pockets

She drafted a pattern and of course we upcycled newspapers for that

back pocket pattern

and front pocket pattern

Cutting out the pant patterns
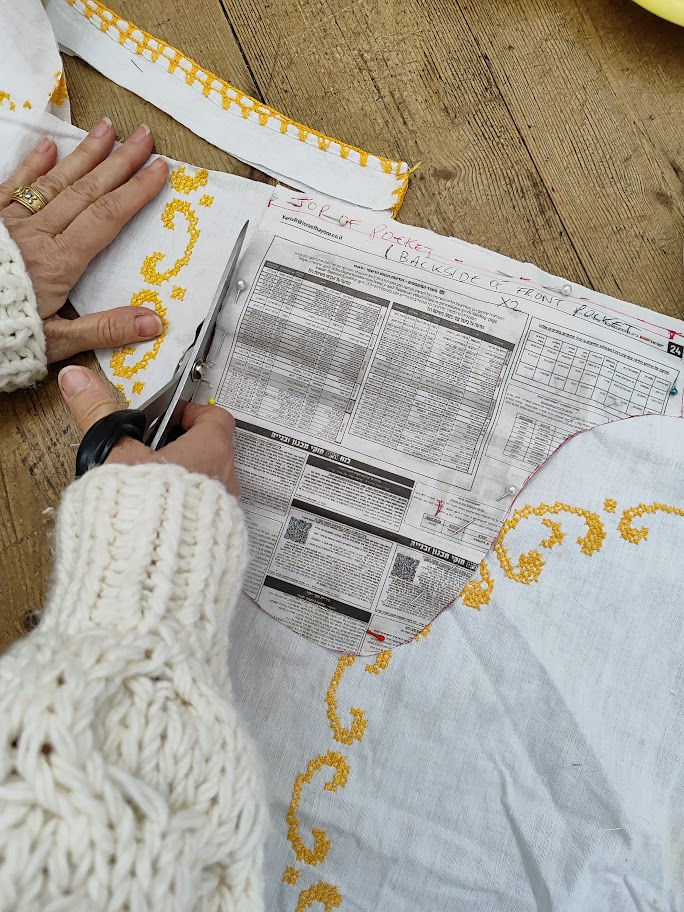
All the pieces cut out except for the belt

Made sure the two front pieces mirror each other and not cut on the same side

Inner front pocket piece attached to a front pant piece

She sewed on all the pockets front and back
Back pockets backed with a piece of linen from a shirt, sewn around 3 sides leaving a window, turned inside out and ironed
Laid front pieces down on the front pant pieces

pinned and sewed inside and outside leg seams

Placed one leg inside the other

Pinned centre front and center back seams together

Like this and showing where to sew the seam

and then sewed

Here the pants are sewn besides for the waistband.
Look how nice the bottoms of the pants with the embroidery look.
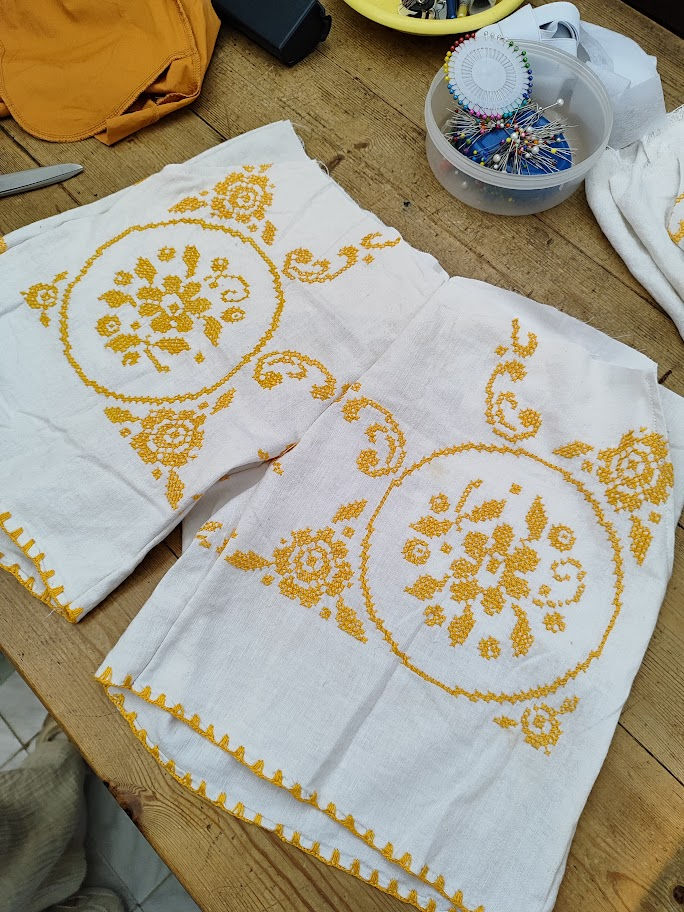
After overlocking the seams to sew a waistband

I had a linen napkin with a similar weave for the waistband

The waistband pinned to the top of the pants

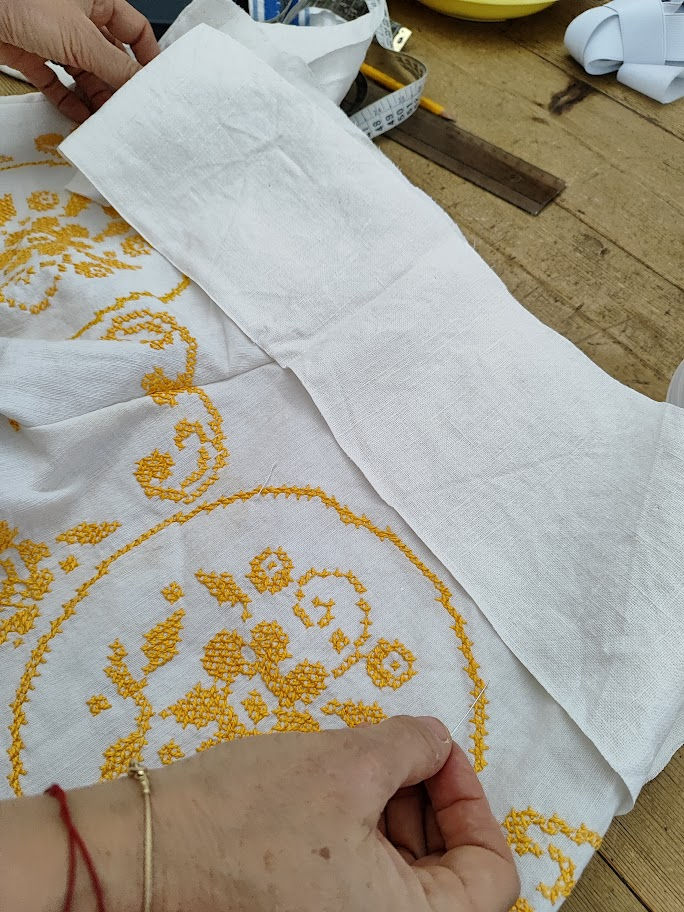
After sewing the waistband threaded elastic through it


She tried the shorts on and measured the elastic

Sewed the waistband seam closed

These shorts are a perfect fit and the design lines up perfectly, showcasing her attention to detail.
It is so worth it to take that extra time to line everything up, as this effort significantly enhances the visual effect of the project, and actually, as I always say to my students, I am very pleased when a plan comes together.


Comments